Flossing with the proper technique can be tricky and may take some practice. As a dental hygienist, I frequently help my patients improve their flossing technique, making a significant difference in their oral health.
Flossing effectively involves using an 18-inch piece of floss, wrapping it around your middle fingers for better dexterity, and using gentle, precise C-shape movements to clean between your teeth.
Keep reading to learn the detailed steps for using string floss, complete with pictures and a video to guide you.
Step 1: Cut a Piece of Floss the Distance of Your Hand to the Elbow
Having enough floss is essential so you can use fresh, clean floss as you move along in the mouth while flossing. This length typically measures about 18 inches. According to the American Dental Association (ADA), using a fresh section of floss for each tooth helps reduce the transfer of bacteria and food particles.

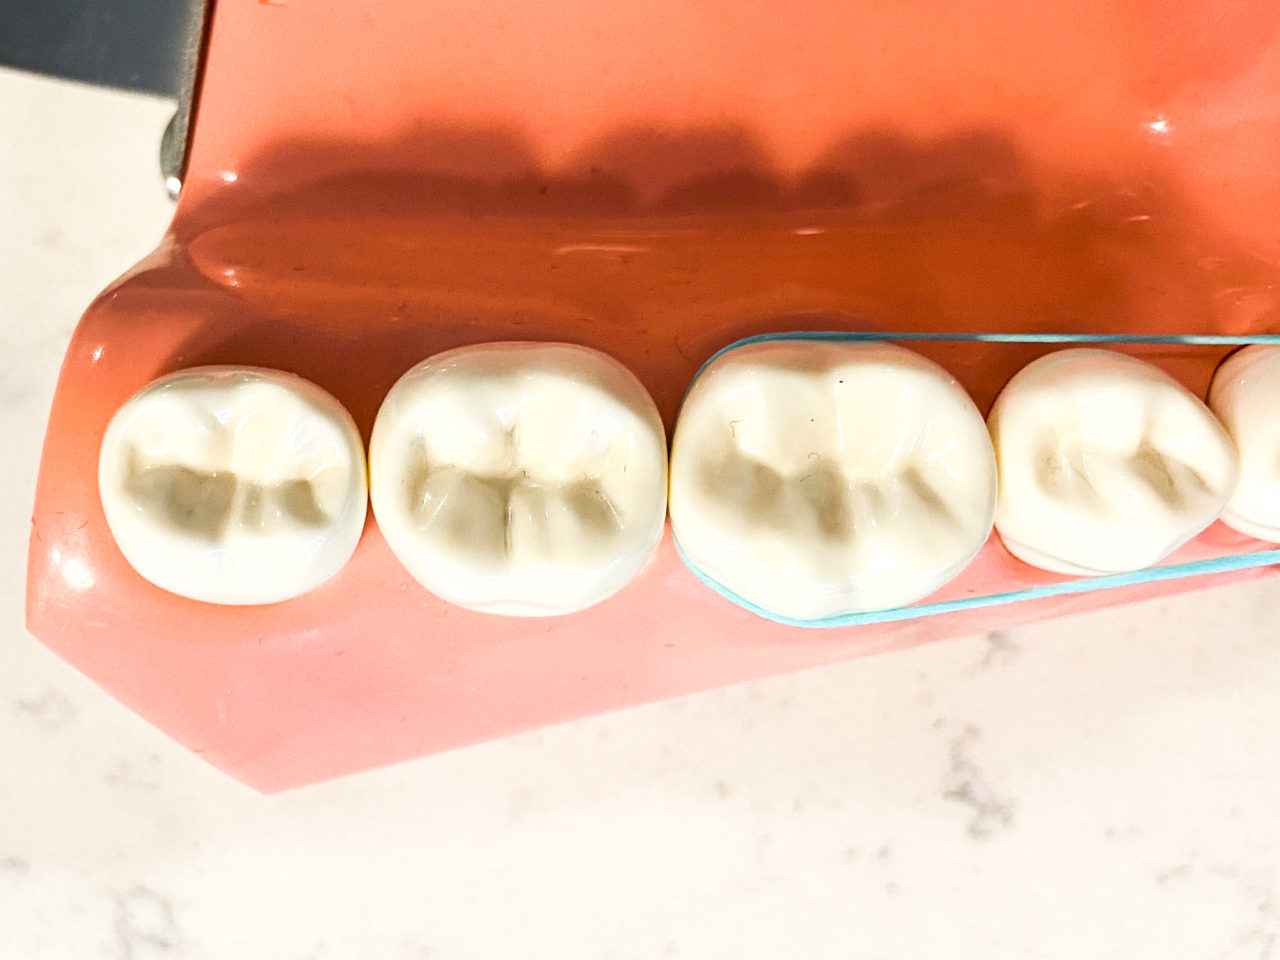
Step 2: Wrap Ends of Floss Around Your Middle Fingers
Wrap the floss about three times on one of your middle fingers (I usually do it on my right hand). Wrap the other end of the floss around your other middle finger until there are a couple of inches of free floss between your fingers.
I have put together an entire resource page for Adults that you can click to here. I put this resource together because so many of my patients were asking for a one stop shop of recommendations for their oral health.
Wrapping the floss around the middle fingers will give you more dexterity and movement in the floss. Sometimes, people wrap the floss around their pointer fingers, but the floss movement may be limited. Dexterity is crucial as it allows you to navigate the floss effectively around each tooth, ensuring thorough cleaning.
At the end of the day, if you prefer your pointer fingers, that’s fine! I don’t want to discourage anyone from flossing because every little bit counts!

Step 3: Pinch the Floss Between the Pointer Finger and Thumb
Pinch the floss with both hands between your pointer finger and thumb.
You want 2-3 inches of free floss between your right and left hands. This allows the floss to be easily manipulated to contour around your teeth. According to dental research, proper manipulation of floss helps to effectively remove plaque from the interdental areas, reducing the risk of periodontal disease.

Step 4: Gently Push the Floss Between Your Teeth
Gentle pressure is key. Don’t use too much pressure, as it can damage the gums. Using either your thumbs or pointer finger, apply slight pressure to guide the floss in between the teeth.
Read Now: How Mouth Breathing Affects Your Oral Health; RDH Explains
Excessive force can cause gum trauma, leading to gum recession and bleeding. The goal is to remove plaque without harming the delicate gingival tissues.
Step 5: Wrap the Floss Towards the Back Tooth in a C-shape
You want to manipulate the floss so it is wrapping around the tooth closer to the back of the mouth as far around the tooth as you can. The floss should wrap the tooth, forming a “C.”
This C-shape technique is critical as it allows the floss to hug the tooth, effectively removing plaque from the sides of the tooth and just below the gumline where a toothbrush cannot reach.
Step 6: Move the Floss Up and Down Along the Tooth
Moving the floss up and down the tooth, maintaining the C-shape, will clean approximately 35% of the tooth surface!
It is really important to move up and down the tooth towards your head and then feet, going towards the gums, then towards the biting surface. You will want to do this at least 2-3 times. Studies have shown that this motion helps dislodge and remove bacterial biofilm and food debris effectively.
Step 7: Move Floss to the Tooth Closer to the Front of the Mouth
Move the floss to wrap around the tooth closest to the front of your mouth, and repeat steps 5 and 6.
Step 8: Repeat Steps 4 to 7 Until All Teeth Are Flossed
Step 9: Don’t Forget the Back Surface of the Last Molars
Don’t forget to floss the very back surfaces of your last molars. This surface is often overlooked because there are no teeth behind them. But this area is more susceptible to inflammation because it is difficult to clean! Flossing this area can prevent periodontal pockets and subsequent periodontal disease.
For best results, repeat daily. If daily flossing is not feasible now, aim to floss at least once every two days. Every day counts! Research indicates that regular flossing can significantly reduce the risk of gingivitis and other periodontal diseases.
I hope you have a wonderful day. Happy flossing!
Holly 🙂
