As a dental hygienist, I have had many patients over the years with limited dexterity and difficulty gripping the toothbrush because of their arthritis.
Arthritis can make everyday activities challenging, from opening jars to typing on a keyboard. It can even impact how you brush and floss your teeth. Toothbrush handles are small, making them hard to hold if you have joint stiffness and a limited range of motion. And if brushing is hard, working with a tiny piece of floss isn’t even worth thinking about sometimes.
But don’t worry—you can use items you probably already have at home to help with brushing and flossing. You don’t need an expensive fix to relieve flare-ups, especially when symptoms come and go.
These tips can also help if you have a shoulder, arm, or hand injury. Having a restricted range of movement due to such injuries can make brushing and flossing difficult.
Here are some household items that can help ease your arthritis symptoms while brushing and flossing:

1. Use elastic band around your palm to hold toothbrush
Wrap an elastic band around the palm of your hand. Make sure it’s firm but not too tight to cut off circulation. Place the toothbrush between your hand and the elastic band. This allows for more control without needing to bend your fingers. The motion will come from your shoulder and elbow.
2. Put toothbrush in the center of a pool noodle
Cut a pool noodle to the desired size and insert the toothbrush handle into the hole in the middle. You may need tape to secure the brush. The soft grip of the pool noodle is large enough, so you don’t have to squeeze your hand tightly around it.
3. Cut a hole in a tennis ball to insert toothbrush
Buy tennis balls with slits from the Dollar Store, or make your own by cutting an “X” into a regular tennis ball. Push the toothbrush into the slits for a secure, easy-to-grip handle.
4. Wrap tennis racket tape around toothbrush handle
Wrap the grip tape around the toothbrush handle to your desired thickness. This provides a cushy grip that’s easy to hold. The only downside is you’ll need to re-tape your toothbrush every three months.
5. Insert toothbrush handle into a foam hair roller
Detach the plastic clip from a foam hair roller and insert the toothbrush handle. Hair rollers come in various sizes, making them a customizable option without needing tape to secure the brush.
6. Insert toothbrush into a bicycle handlebar grip
The grip has one open end, and the other closed, preventing it from sliding up the toothbrush handle. This option is reusable and easy to clean.
7. Wrap toothbrush handle with duct/electrical tape
Similar to the tennis racket grip tape method but less expensive. Wrap the tape around the handle to your desired thickness.
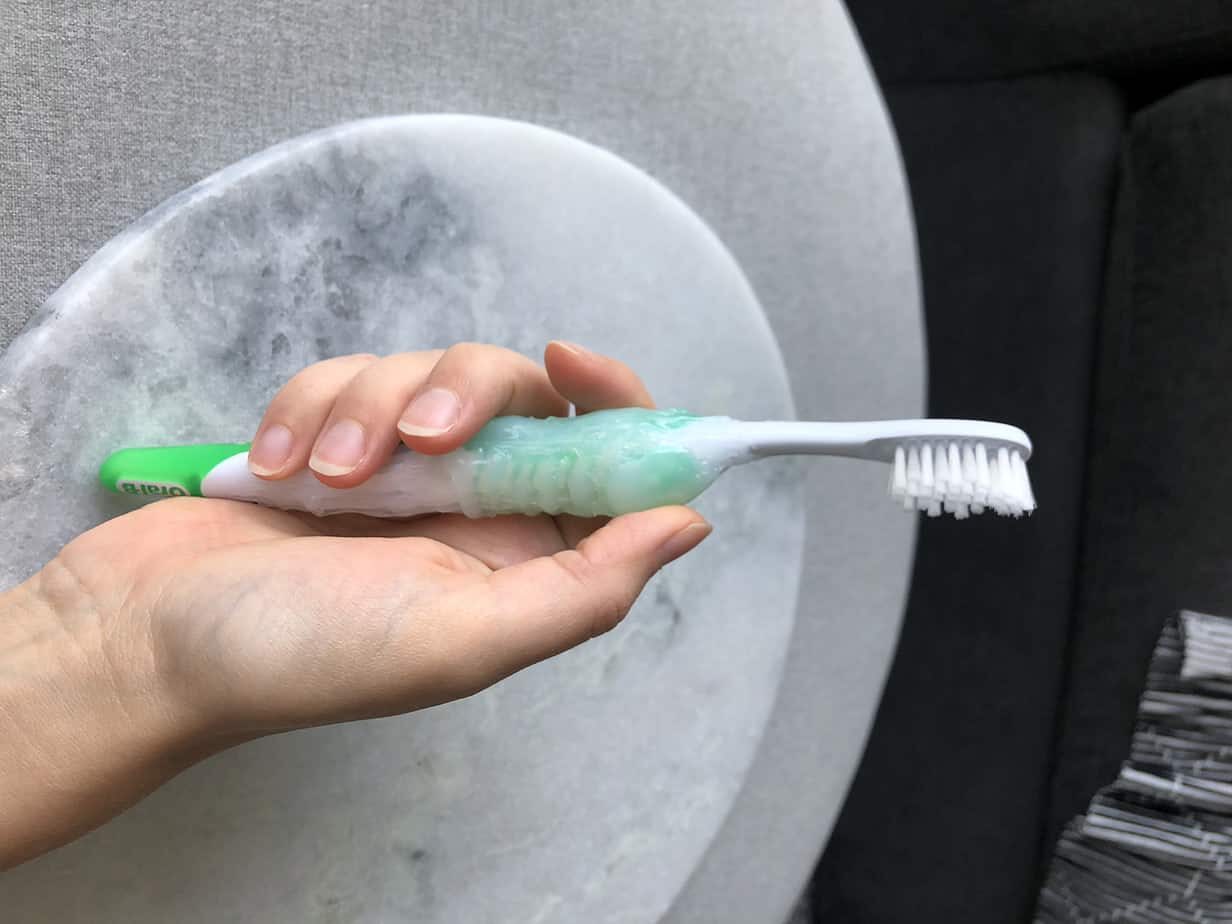
8. Wrap the toothbrush handle with cloth and elastics
Roll a cloth around the toothbrush handle and secure it with elastic bands. A face cloth usually works best, but a dish towel can be used for a larger grip. This method is reusable and washable.
9. Wrap a sponge around the toothbrush handle
Wrap a sponge around the toothbrush handle and secure it with elastics. Alternatively, cut a slit in the sponge and insert the toothbrush for a more even grip.
10. Mold aluminum foil aroud the handle of the toothbrush
Bunch up aluminum foil around the handle. It can be reused or used once. Form it into any shape and customize and mould it to your hand.
11. Attach popsicle sticks around toothbrush handle
Attach popsicle sticks to the toothbrush handle with tape, zip ties, or elastics to customize the thickness. The tape helps prevent splinters.
12. Poke a hole in a stress ball and insert brush
Poke a hole through a stress ball and insert the toothbrush handle. You can push the brush all the way through or stop before the end.
13. Use hot glue to enlarge toothbrush handle
Apply multiple layers of hot glue to the handle to make it thicker. This is a cleaner option as the set glue is easily washable.
14. Poke a hole in a styrofoam ball for brush handle
Poke a hole through a Styrofoam ball and insert the toothbrush handle. This provides a secure grip.
15. Wrap velcro strips around toothbrush handle
Wrap Velcro around the handle to build up width where needed. Velcro straps are removable and washable.
16. Wrap garden ties to enlarge brush handle
Wrap garden ties around the handle. They come in various sizes and have metal in the middle, so be sure to cut or cover the metal ends.
17. Wrap drawer liner around handle
Wrap the liner around the handle and secure it with elastics. This is similar to the cloth and elastics method.
18. Insert brush into a hollow dog ball/toy
Similar to the tennis ball method but with no cutting required. If the handle is too small, secure it with tape.
19. Use hot water to soften and bend the handle
Run the plastic toothbrush handle under hot water to bend it, making reaching the back of your mouth easier. Once bent, set it under cold water to hold the shape.
Maintain consistent dental hygiene appointments
Even if you keep up with your oral hygiene, plaque and tartar can build up in hard-to-reach areas. Regular cleanings by a dental professional are essential to maintain your oral health.
To ensure you use the most evidence-based dental hygiene products, check out my Adult Resource Page, which I created here.
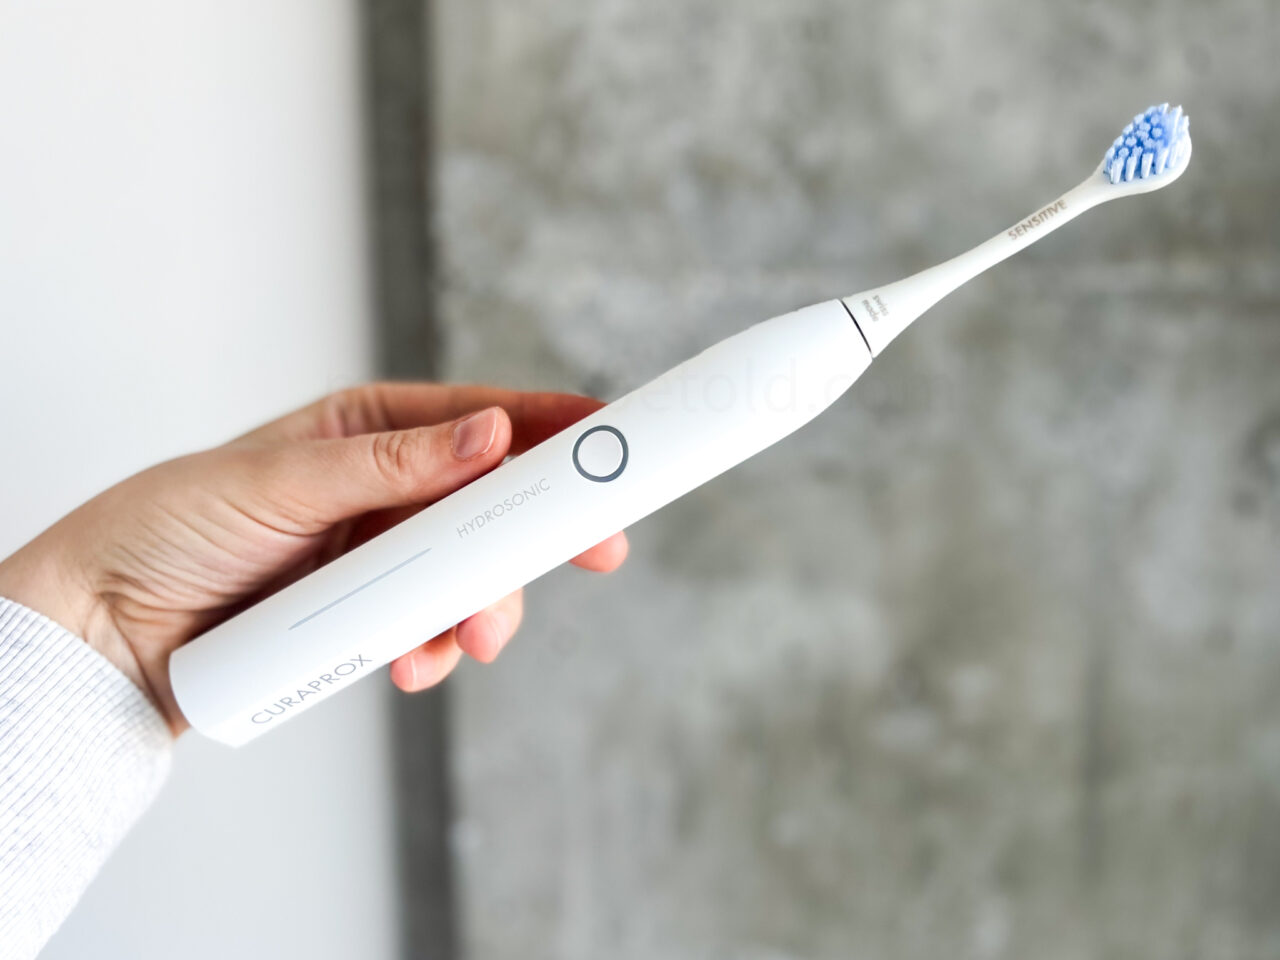
Upgrade to the Curaprox Hydrosonic Pro for larger grip
If these tips seem overwhelming, consider upgrading to an electric toothbrush like the Curaprox Hydrosonic Pro (Amazon Link) . It has a larger handle than regular brushes, and the electric movement does most of the work for you. This toothbrush is particularly effective for those with limited dexterity due to arthritis or injuries.
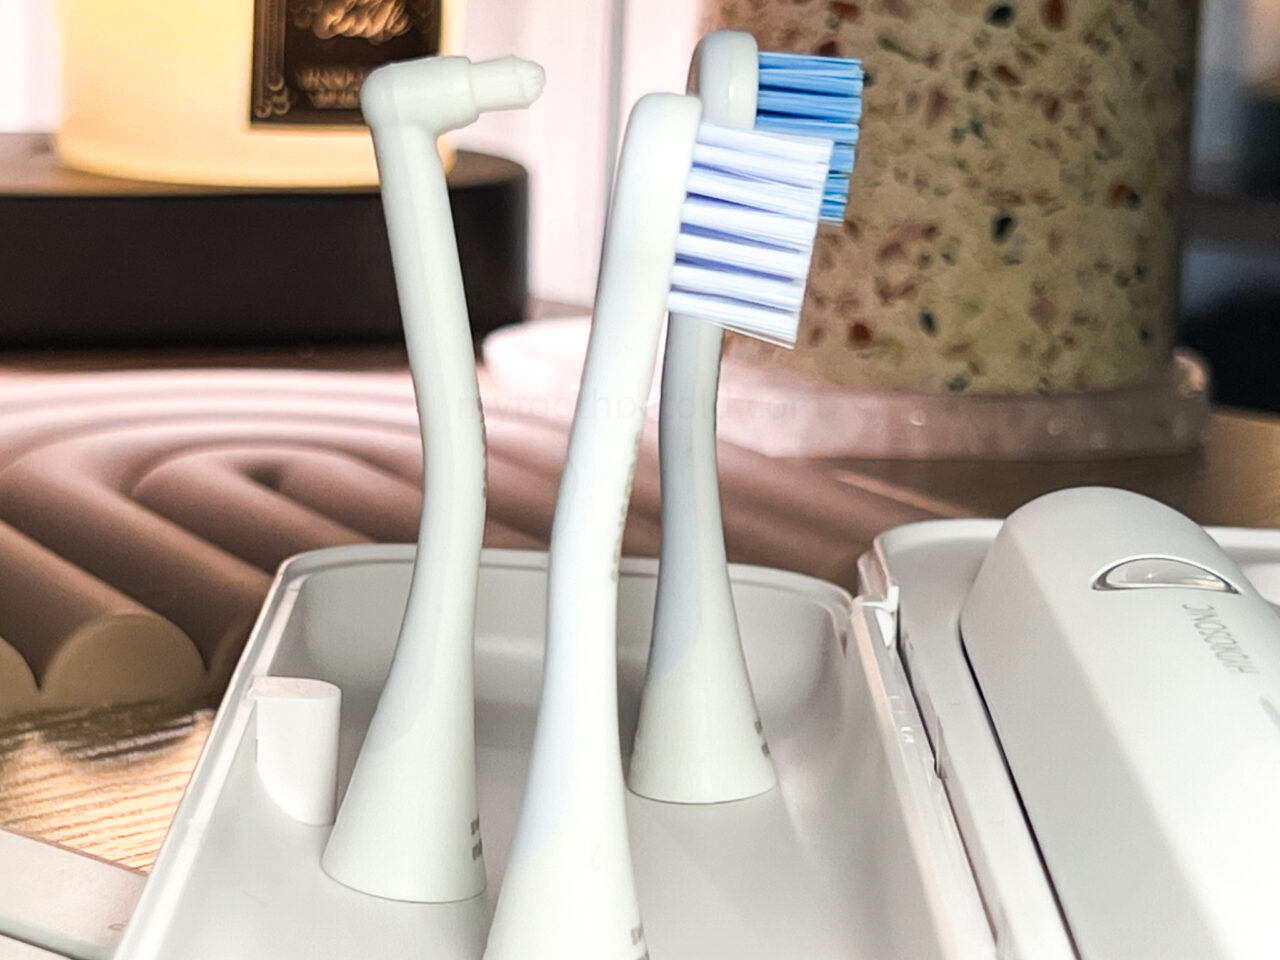
The brush heads are also angled to help reach those difficult-to-reach areas and also come with a small brush head to get into tighter spots. You can see an image with the brush heads below.
If brushing and flossing are difficult, you can also incorporate an alcohol-free, neutral pH mouthwash with fluoride into your routine. This helps cleanse the mouth, aid tissue healing, and prevent cavities.
Remember, every little bit helps. Stay motivated and do what you can. You’ve got this!
Holly Verran, RDH 🙂